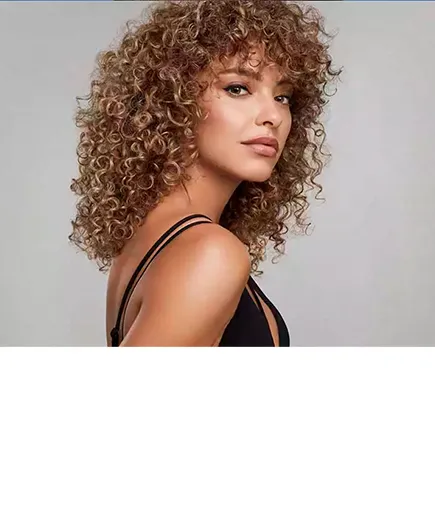
Mastering the Art of Sand Balayage for Luminous Hair this Autumn
As a skilled hairdresser, one of your primary goals is to help your clients achieve their desired look while keeping their hair looking healthy and vibrant. One popular technique for adding natural-looking highlights and subtle dimensions is through a sand Balayage. This technique mimics the sun-kissed effect of spending a day at the beach, leaving the hair with a soft and radiant glow.
In this article, we’ll walk you through the steps of creating a stunning sand Balayage, ensuring that clients leave your salon with hair that’s lightened and luminous!
Step 1: Consultation
Before diving into the hair color transformation process, it’s crucial to have a thorough consultation with your client. Discuss their desired outcome, their hair history, and assess the condition of their hair. This step will help you determine if a sand Balayage is suitable for their hair type and if any pre-treatments or adjustments are necessary.
Step 2: Preparation
Start by preparing your client’s hair for the Balayage process. If needed, gently cleanse their hair with a clarifying shampoo to remove any product buildup or impurities. Better yet, during your initial consultation, advise your client to do this at home before the coloring service takes place. Avoid using purple toned shampoo the week before the appointment because this hue may stain previously lightened hair and cause uneven tones, especially on porous hair. A clean canvas of (ideally) second day post wash hair will allow for easier application and better color absorption.
Step 3: Sectioning
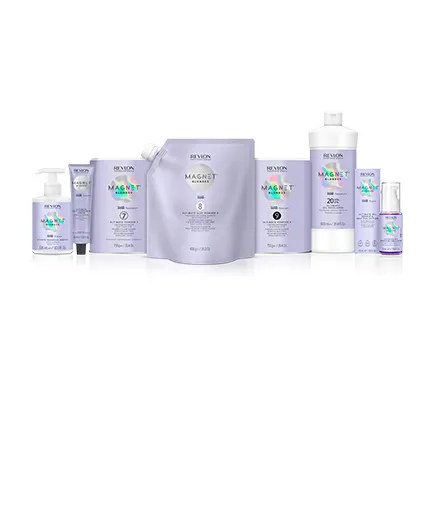
To achieve the sand Balayage technique, divide the hair into clean manageable sections using clips or hair ties starting at the back. To weave in babylights using Magnet™ Blondes Ultimate Powder 7. Ammonia Free*, take diagonal sections through the back, sides and top area. Then move to the crown and take horizontal sections. This technique can be completed with a traditional freehand Balayage technique or with foilayage, which is where you add foils for additional lightness.
Step 4: Mixing the Color
For a sand Balayage, you’ll need a lightening product that achieves a subtle, sun-kissed effect. We recommend the Magnet™ range by Revlon Professional, which offers powerful lifting and unparalleled results. Its exclusive BondIN System™ protects and repairs hair from the inside out and its flawless creamy consistency makes it easy to apply smoothly and evenly. Deciding which product to use on your client is based on the levels of lift required and the client’s base level. Mix the selected lightener according to the manufacturer’s instructions, taking care to achieve the desired consistency. We also recommend adding Magnet™ Ultimate Technical Additive by Revlon Professional to enhance hair strength and ensure optimum hair color, use after use.
Step 5: Application Technique
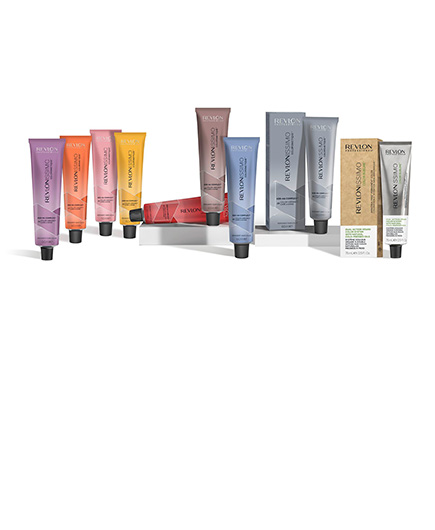
Balayage is known for its freehand application, allowing for customized results. With a sand Balayage the technique works beautifully with a starting base of 5-7. Nevertheless, this can be customized to achieve your clients preferred result. If the client already has a brunette of level 6, then get straight to the Balayage! Focus on the mids and ends by applying the pre lightener with a brush or paddle. Then apply delicate pieces around the face while keeping the roots soft by feathering the color to create a sun-kissed gradient. If the roots need to be darkened alongside the Balayage, apply a neutral color such as a level 6 by Color Excel Revlonissimo™ as a root tap or stretch technique to replicate the trending natural root shadow and sand Balayage combo!
Step 6: Processing Time
Once the lightener is applied, closely monitor the hair’s development. The processing time will depend on the desired level of lightness and the hair’s starting color. Remember to consider your chosen pre lightener’s instructions and perform regular checks to ensure the hair doesn’t over-process. The perfect undertone for the sand Balayage is a pale yellow which is lifted to a level 9/10. For more info, take a look at this article Hair Color Charts Explained | Revlon Professional – Revlon Professional.
Step 7: Toning
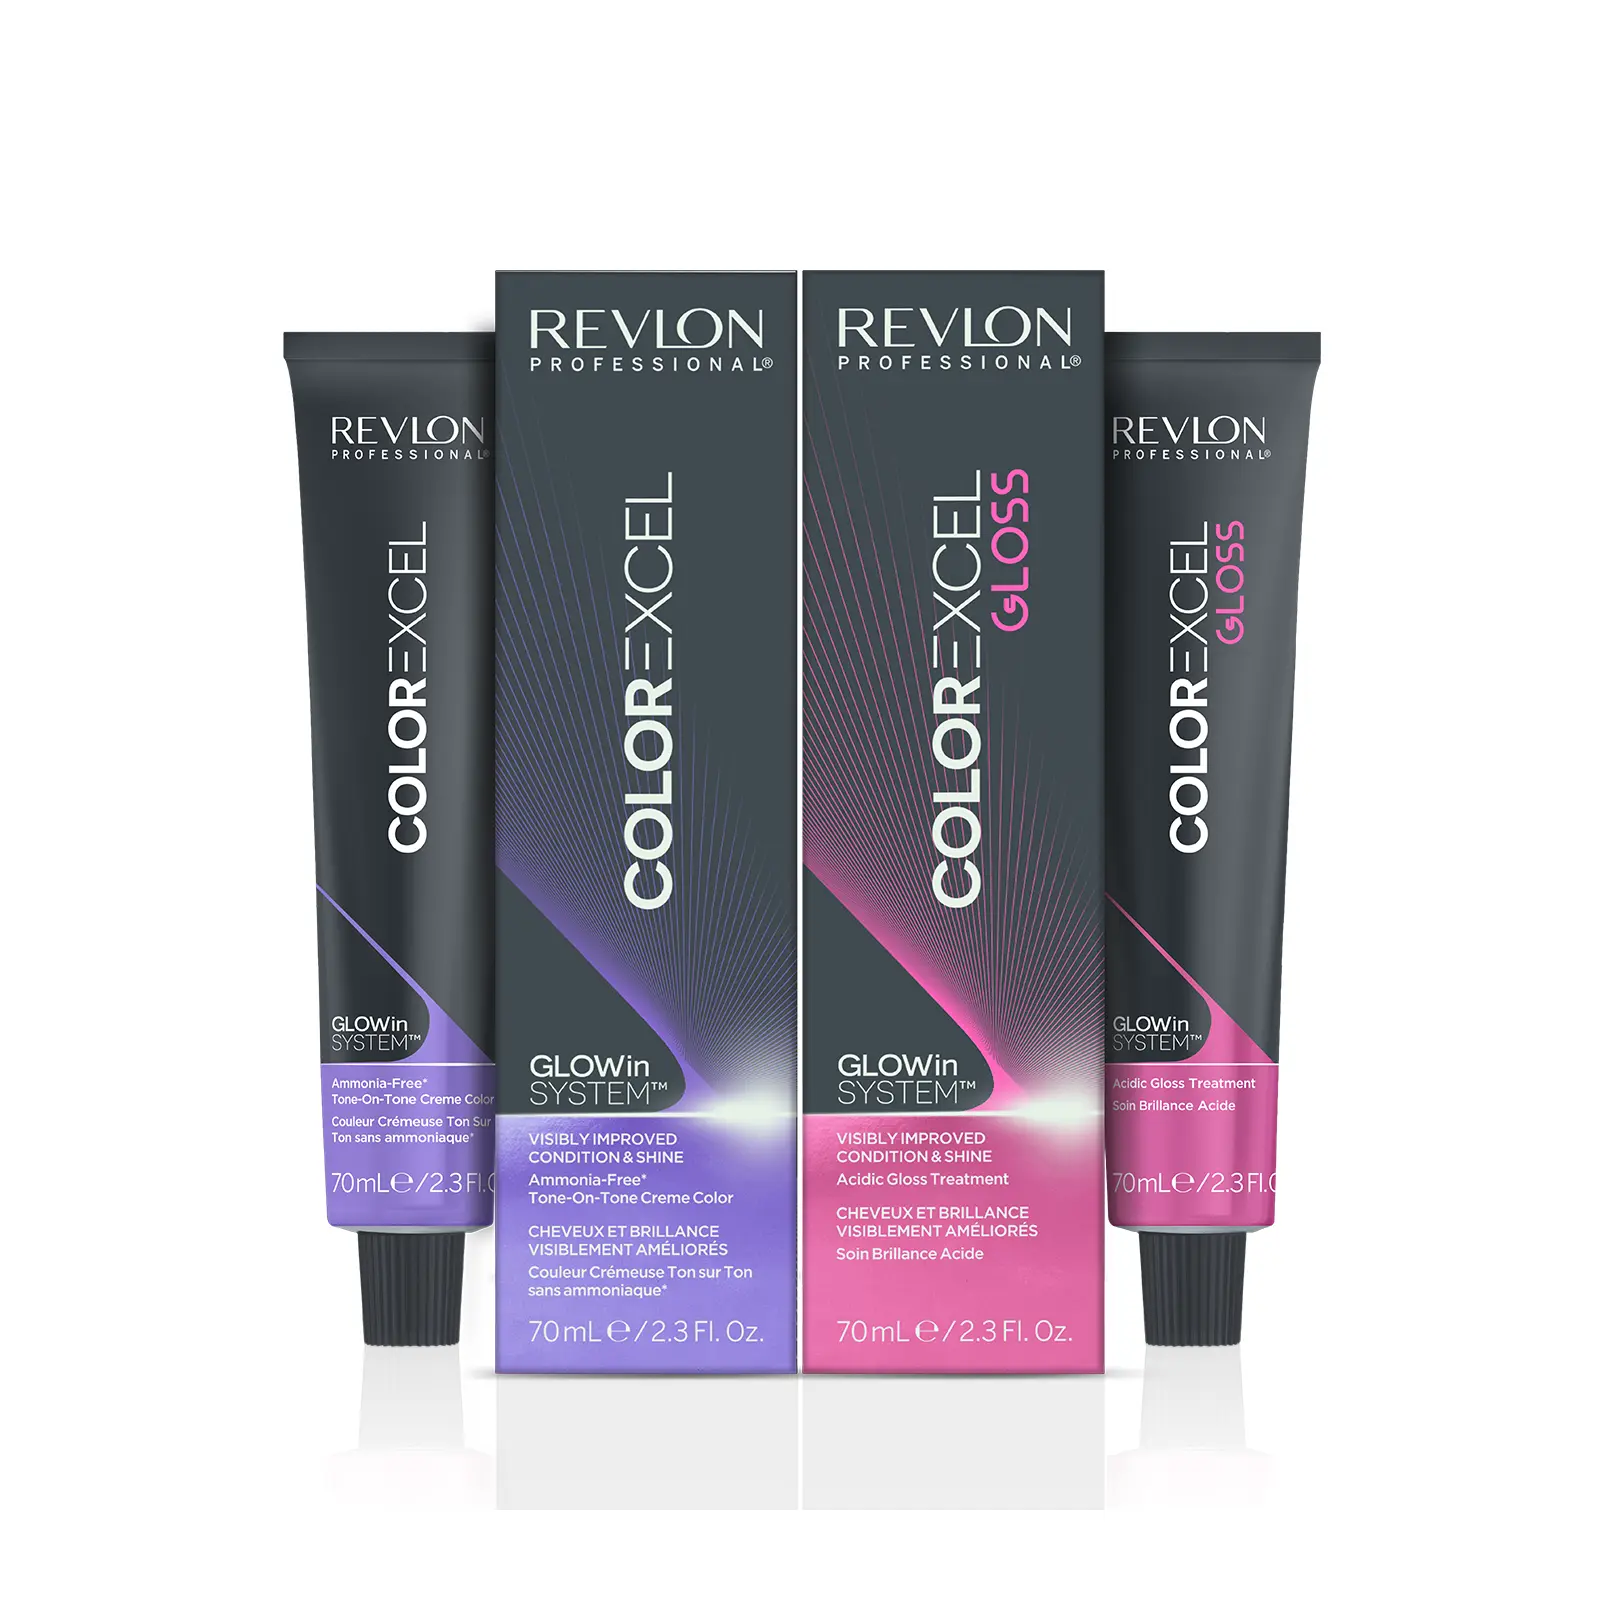
After achieving the desired level of lightness and that perfect undertone, it’s time to tone the hair to create that trendy sand effect. To achieve this opt for Color Excel Gloss by Revlonissimo™ by Revlon Professional in shade .31 SAND. This low commitment, ammonia-free* tone has the perfect combination of ash and warm beige undertones to neutralize any unwanted brassiness while providing a shimmering natural color. Due to its acid technology, this toner can be applied all over the hair for a gloss that adds additional shine, depth, and dimension. Just be sure to focus on the pre-lightened sections and follow the recommended processing time of up to 20 minutes to help blend together the final look for a soft, sandy hue.

Step 8: Aftercare
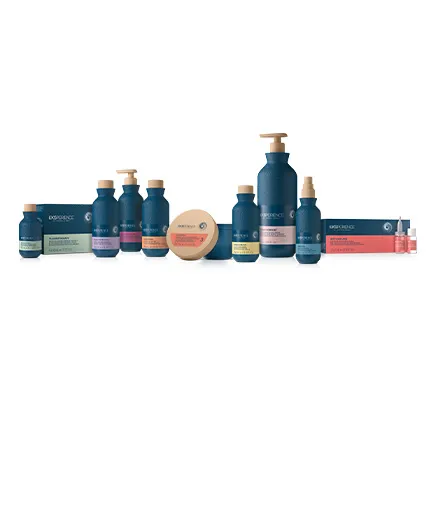
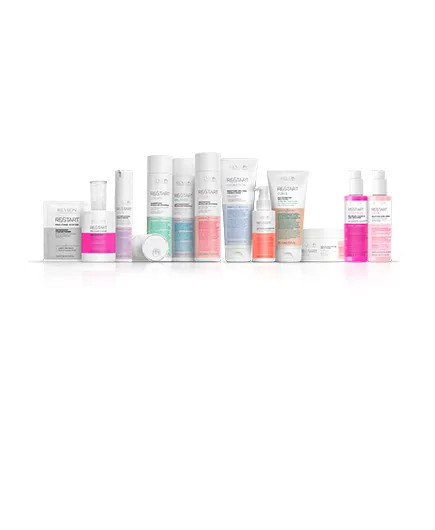
Educate your client on proper care and styling products that will help maintain the longevity of their stunning sand Balayage. Recommend color-safe and sulfate-free shampoos and conditioners, which prevent fading and nourish the hair. We suggest Eksperience™ Color Protection for Blondes and the RE/START™ Color range by Revlon Professional. This innovative range can be used in the salon and at home to shield colored hair against external aggressors for radiant, long-lasting color. Additionally, suggest regular deep conditioning treatments such as the RE/START™ Color 1 Minute Color Protective Mist – Revlon Professional and tell clients to minimize heat styling and exposure to UV rays to avoid fading.
Ver esta publicación en Instagram
A sand Balayage is a wonderful technique to add light and dimension to your client’s hair, giving it a natural and sun-kissed lightness. By following our pro steps and adapting them to suit each client’s unique needs, you’ll be able to deliver stunning results every time. Mastering the art of the sand Balayage will elevate your hairstyling skills and leave your clients feeling confident and radiant.
For more pro tips and color trends, head to our 24/7 educational platform, Revlon Pro Always On (available for clients only, so click the link to become one). You can also visit our Revlon Pro Shop to order all of your favorite products and much more!


